Starvard University · Video Editing 101
Nobody watches raw footage. Twelve lessons on turning a pile of clips into something people actually watch to the end.

The whole course in brief
The twelve lessons
Lesson 1
Beginners obsess over which editing software to use. It barely matters. Free tools like CapCut, DaVinci Resolve, and iMovie can make anything in this course. What matters is what you cut and in what order. A great story cut in free software beats a boring video with expensive effects every time.
Before you open any app, watch all your footage and mark the good moments. Write one sentence: what is this video about? Then arrange your best clips in an order that tells that story: hook, build, payoff. This paper edit, even just a list on your phone, saves hours of dragging clips around aimlessly.
Learn five things in your software and ignore the rest for now: import, trim, split, delete, and export. That is 90% of editing. Effects, transitions, and color grading are seasoning. Master the knife before you buy the spice rack.
Lesson 2
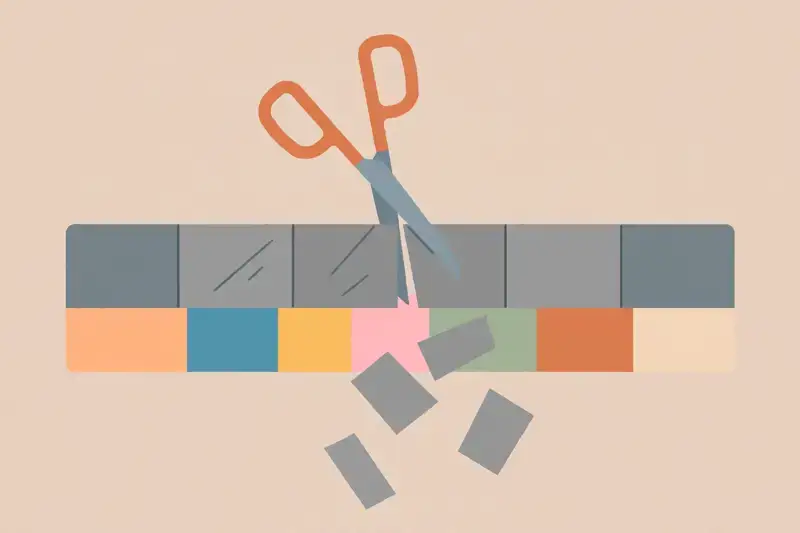
The single biggest upgrade to any video is removing everything boring. The long pause before you start talking. The "um." The walk from the car to the door. The part where nothing happens. Cut it all. What remains will feel twice as good, because the viewer never gets a chance to get bored.
Watch your rough cut and notice where your own attention drifts. That is exactly where your viewer's attention drifts, except they will leave. Cut those sections ruthlessly. If cutting a section makes you nervous, that is usually a sign it needed to go.
Lesson 3
Viewers decide whether to keep watching in about three seconds. Your opening must earn the rest of the video. The classic mistake is starting with a logo animation, a long intro, or "hey guys welcome back to my channel." Nobody cares yet. Start with the most interesting moment, the promise, or the question.
Good hooks: the finished result first ("Here is the cake"), the surprising statement ("I was wrong about everything"), the question the viewer already has ("Why is your bread dense?"). Bad hooks: your name, your logo, a slow drone shot of nothing, apologizing for not posting.
After the hook, deliver fast. The hook makes a promise; the next thirty seconds must start keeping it. Viewers forgive a slow middle if the opening earned their trust. They forgive nothing if it did not.
Lesson 4
The smoothest cuts are the ones nobody notices, and the trick is cutting on action: in the middle of a movement. Someone reaches for a door, cut, and they are opening it from the other angle. The viewer's eye follows the motion right past the cut. It feels continuous even though the angle changed completely.
The opposite, cutting between two static shots, feels like a jump. That is why talking-head videos use jump cuts deliberately: the little jumps create energy and hide the removed pauses. Same principle, different flavor. The cut itself becomes part of the rhythm.
Practice: take any two clips of the same action from different angles and cut mid-motion. Watch how invisible it feels. This one technique is behind most of the "professional" feel in movies and YouTube alike.
Lesson 5
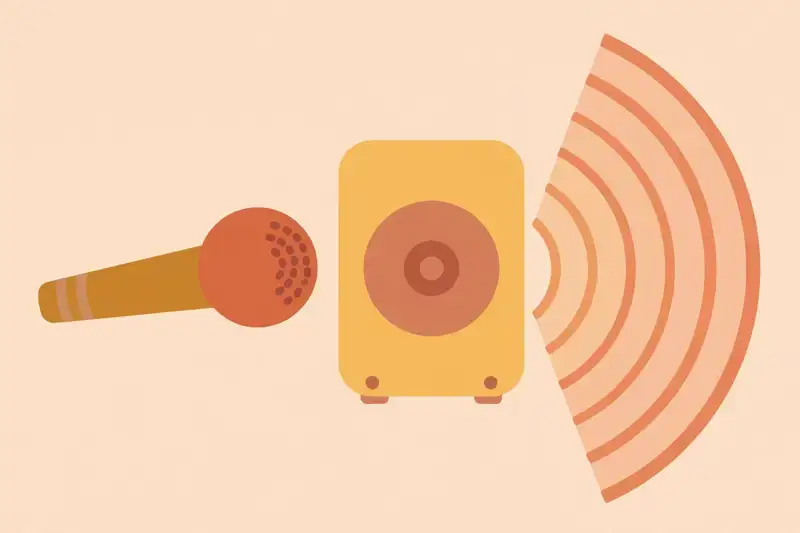
Viewers will watch shaky, grainy footage if the story is good. They will not watch beautiful footage with terrible audio. Bad sound, echo, wind noise, mumbling, makes people leave in seconds. If you spend money on one thing, make it a microphone, not a camera.
The basics: get the mic close to the speaker. A cheap mic two feet away beats an expensive mic ten feet away. Record in quiet spaces, turn off humming appliances, and listen with headphones before you commit. Wind is the enemy outdoors; even a sock over the mic helps.
Lesson 6
Music does half your editing for you. The right track tells the viewer how to feel and when: energy rising, tension building, the satisfying drop when things come together. Edit to the beat and your cuts will feel inevitable instead of random.
Pick music before you finalize the edit, not after. Cut your clips to fit the track's energy, and let quiet moments in the music be quiet moments in the video. A common pro trick: drop the music out completely for one important line, then bring it back. Silence is the loudest effect you own.
Use royalty-free music or licensed tracks. Copyright strikes can mute or remove your video, and "I did not know" is not a defense. There are huge free libraries now; there is no excuse for stealing tracks.
Lesson 7
Pacing is how fast the video feels, and it is controlled almost entirely by cut length. Short cuts feel energetic. Long cuts feel calm or tense, depending on context. Great editors vary the rhythm: fast during action, slow during emotion, like music with verses and choruses.
The beginner mistake is one speed for the whole video. Everything cut the same length feels monotonous, whether fast or slow. Watch your favorite videos and count: the cuts are never even. They breathe. Copy that breathing.
When in doubt, cut tighter. Almost every first edit is too slow. Remove a beat from every pause, trim every reaction by half a second, and the whole thing comes alive. You can always slow down later; start fast.
Lesson 8
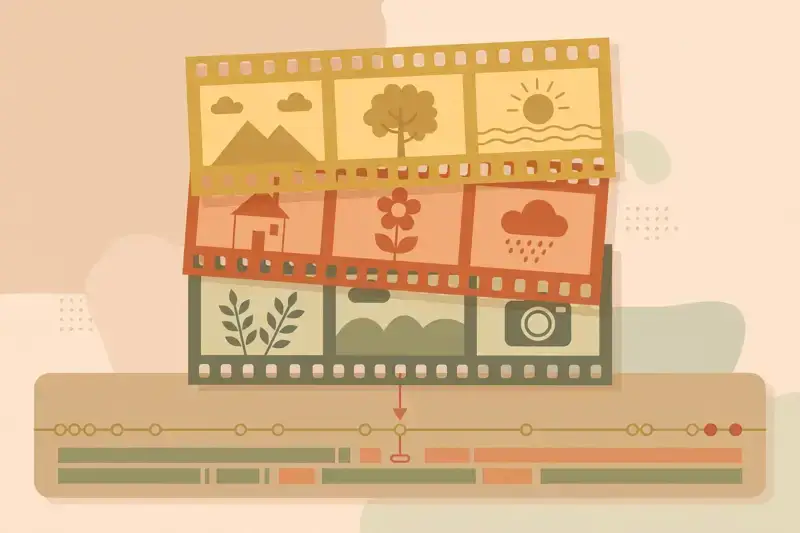
B-roll is the extra footage layered over your main shot: close-ups of hands working, the street outside, the product on the table. It does three jobs: it hides your cuts, it illustrates what you are saying, and it keeps the viewer's eyes busy. A talking head with no b-roll is a podcast with a face.
Shoot b-roll deliberately. When you finish your main footage, spend ten minutes filming details: wide, medium, close-up of everything relevant. Future you, stuck in the edit with a boring stretch, will be grateful. B-roll is the editor's savings account.
Lesson 9
Text on screen should help, not decorate. Use it for names, key points, and things the viewer needs to remember. Keep it short, big, and on screen long enough to read twice. If the viewer has to pause to read your title, it failed.
Most viewers watch with sound off, at least at first. Captions are not optional anymore; they are how half your audience experiences the video. Burned-in captions or platform captions both work, but one of them must exist. This one change can double your watch time.
Pick one font and one style and use them everywhere. Consistency looks professional; five different fonts look chaotic. Simple, bold, readable. Your text is a signpost, not art.
Lesson 10
Color grading intimidates beginners, but 90% of it is two moves: fix the white balance so whites look white, and add a touch of contrast so the image has depth. That is it. Most footage looks dramatically better after just those two adjustments.
Shoot with this in mind: avoid mixed lighting (daylight plus orange lamps creates unfixable weirdness), and expose for the important part of the frame. You can fix a lot in the edit, but you cannot fix everything. Good habits at shooting time beat hours of grading later.
Resist the urge to make everything teal and orange because a tutorial said so. Natural color that matches the mood beats a trendy look that fights it. The best grade is the one nobody notices.
Lesson 11
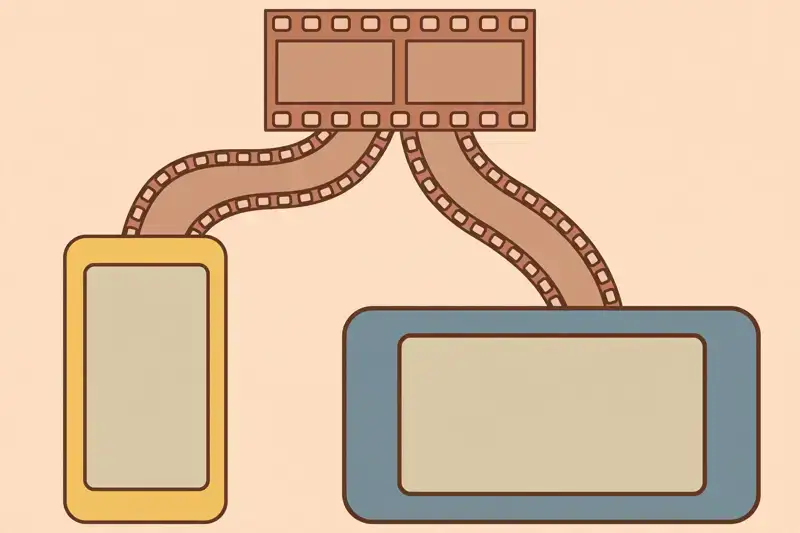
Different platforms want different formats. YouTube and most TV-style viewing: horizontal 16:9, 1080p or 4K. TikTok, Reels, Shorts: vertical 9:16, fill the phone screen. Posting a horizontal video with black bars on a vertical platform looks amateur and gets skipped.
Export settings that work almost everywhere: H.264 codec, high bitrate, 30 frames per second (60 for sports or action). File size matters less than it used to; quality matters more. When in doubt, export bigger and let the platform compress it.
Lesson 12
Here is your assignment: make a one-minute video about anything. Your morning routine, your dog, how you make coffee. Shoot it on your phone, edit it with free software, and finish it this week. Not perfect. Finished.
Follow the course: hook in the first three seconds, cut the boring parts, get the audio clean, add music, caption it, export for one platform, post it. Then watch it twice and write down three things to improve. That list is your real education.
Then make another one. And another. The tenth video will embarrass the first, and that is exactly how it should be. Editors are made by finishing videos, not by watching tutorials about finishing videos.
Graduation
You know the craft now: story first, cut the boring parts, hook fast, cut on action, treat audio like half the video, let music set pace, vary the rhythm, shoot b-roll, caption everything, keep color simple, export for the platform, and finish videos instead of perfecting them. The timeline is yours. Go cut something.
Keep learning
This course is part of Starvard University, striving for greatness.
A note on accuracy: Much of what you read at Starvard was created with help from AI agents, working alongside people. We check what we can, but we cannot guarantee that everything here is true, current, or complete. If something really matters, your health, your money, a grade, a job, please verify it with a trusted source before you rely on it.